As an Amazon Associate I earn from qualifying purchases. This does not affect the price you pay when purchasing.
About
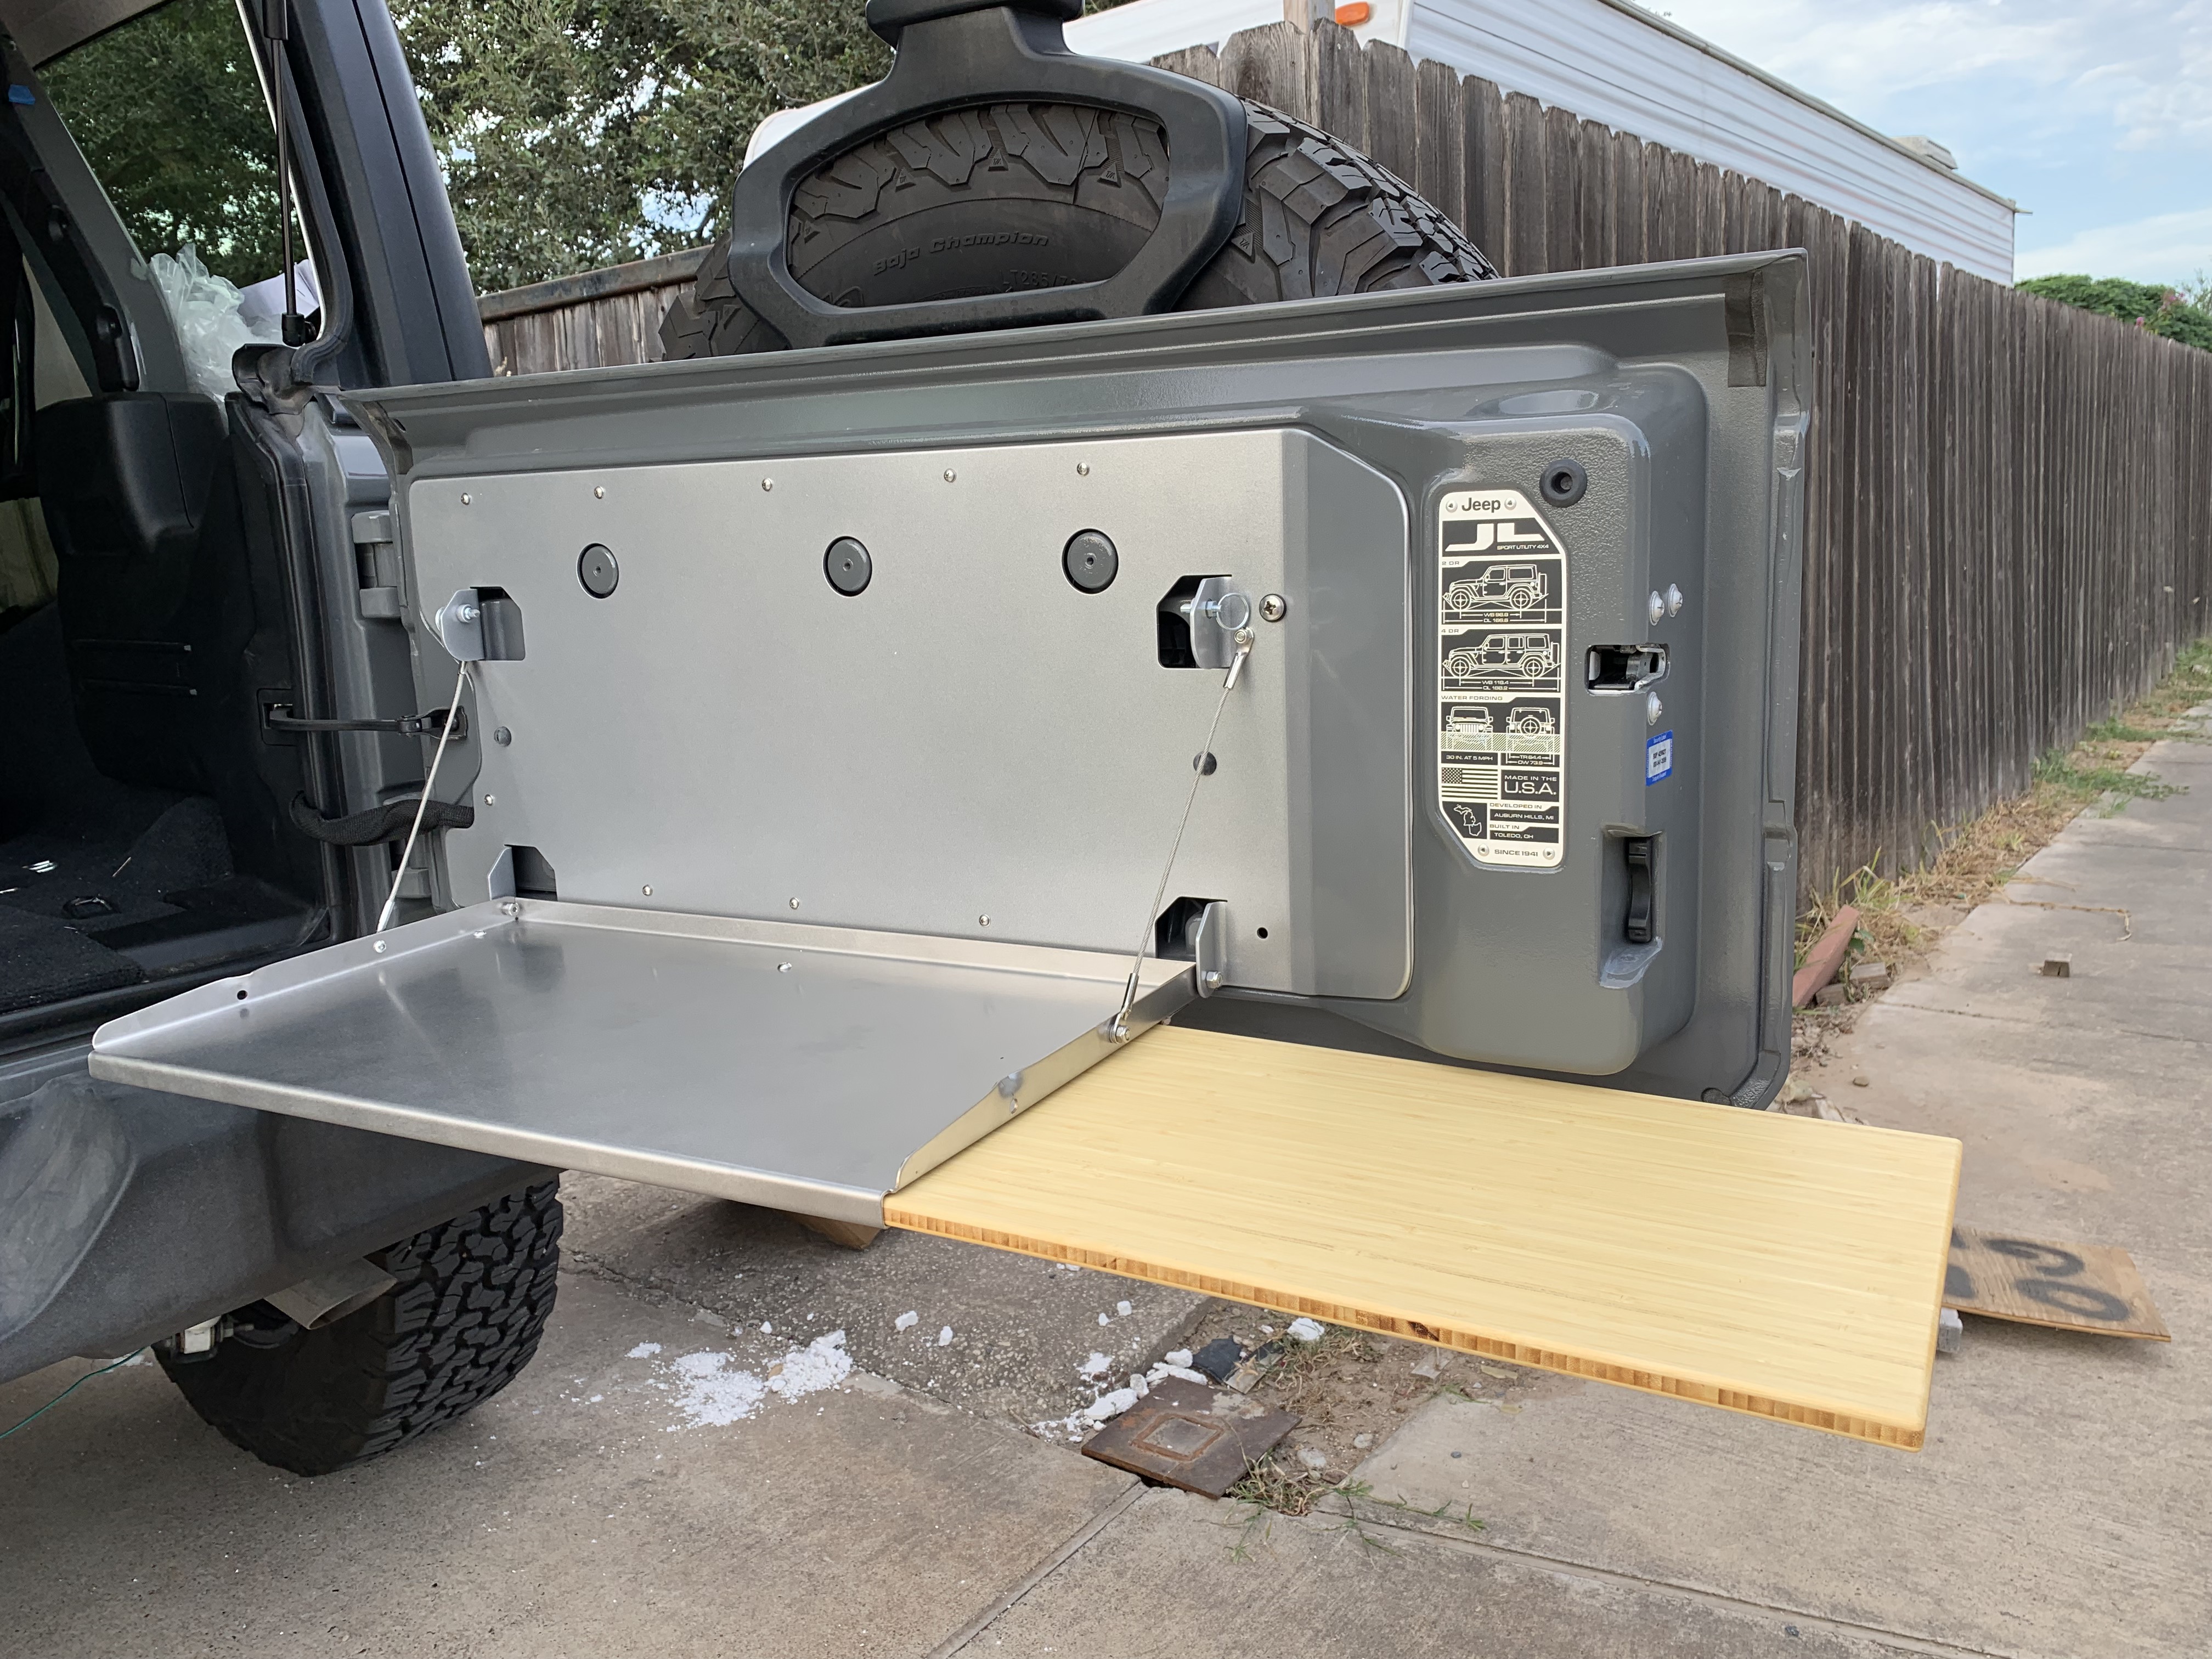
The JL Trailgater® is engineered specifically for the 2018-19 Jeep JL Wrangler and replaces the whole plastic inside tailgate cover. It utilizes the same proven design used for our JK Trailgater, has a larger table and cutting board and mounts to the JL tailgate using 9 proprietary injection molded blind nuts. The JL Trailgater also keeps available the 3 mounting points in the center of the tailgate.
- 10 minute or less installation. No drilling required!
- 1.8″ of depth from the tailgate when stowed.
- Stainless Steel hardware used throughout
- The bamboo cutting board conveniently slides under the table and the assembly folds up and is held in place with two rattle free spring latch pins.
- The table is 25″ x 14.5″ and the slide out cutting board is 12″ x 20″ for a combined 600 square inches of surface area.
- 14 gauge (0.075″) food-grade Stainless Steel, the backsplash is 0.120″ powder coated Aluminum, both are CAD designed, laser cut, CNC bent, and deburred.
- Max weight capacity is set at 40 lbs.
Whats in the Box?
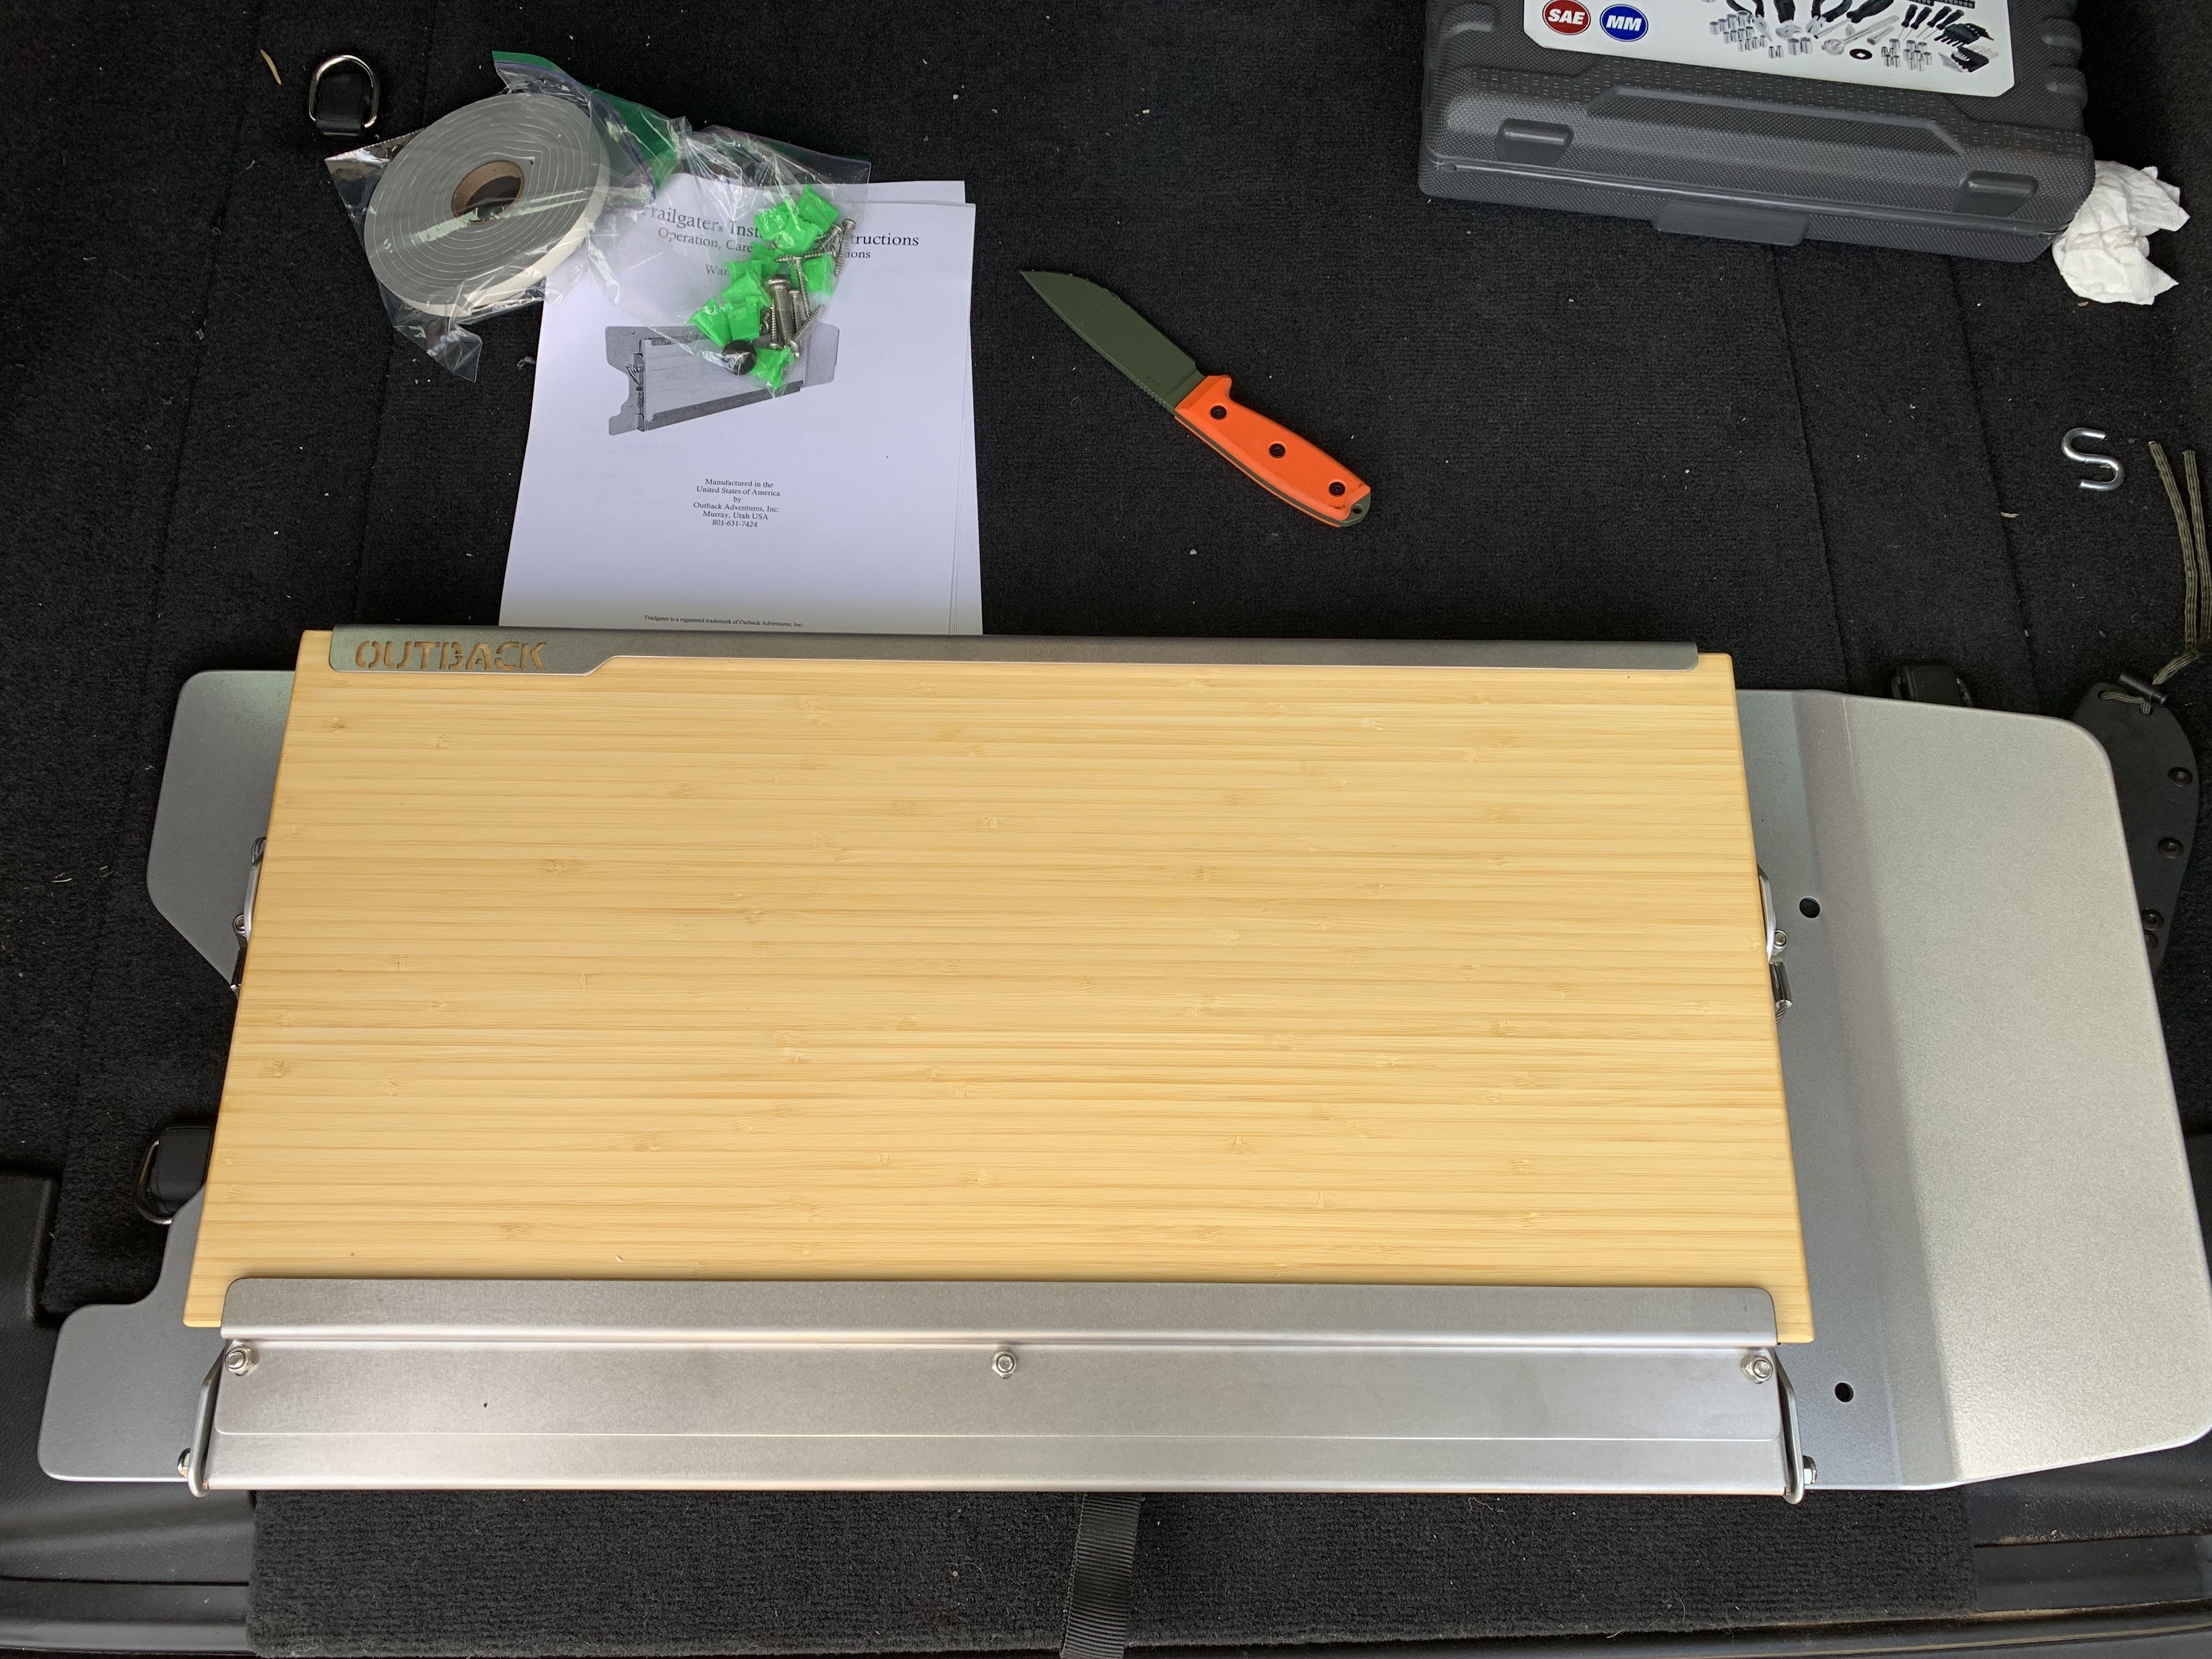
Pretty much out of the box you get the Trailgater Table, a set of instructions and a zip lock bag with the screws, washers and clip inserts needed for the Installation.
Installation
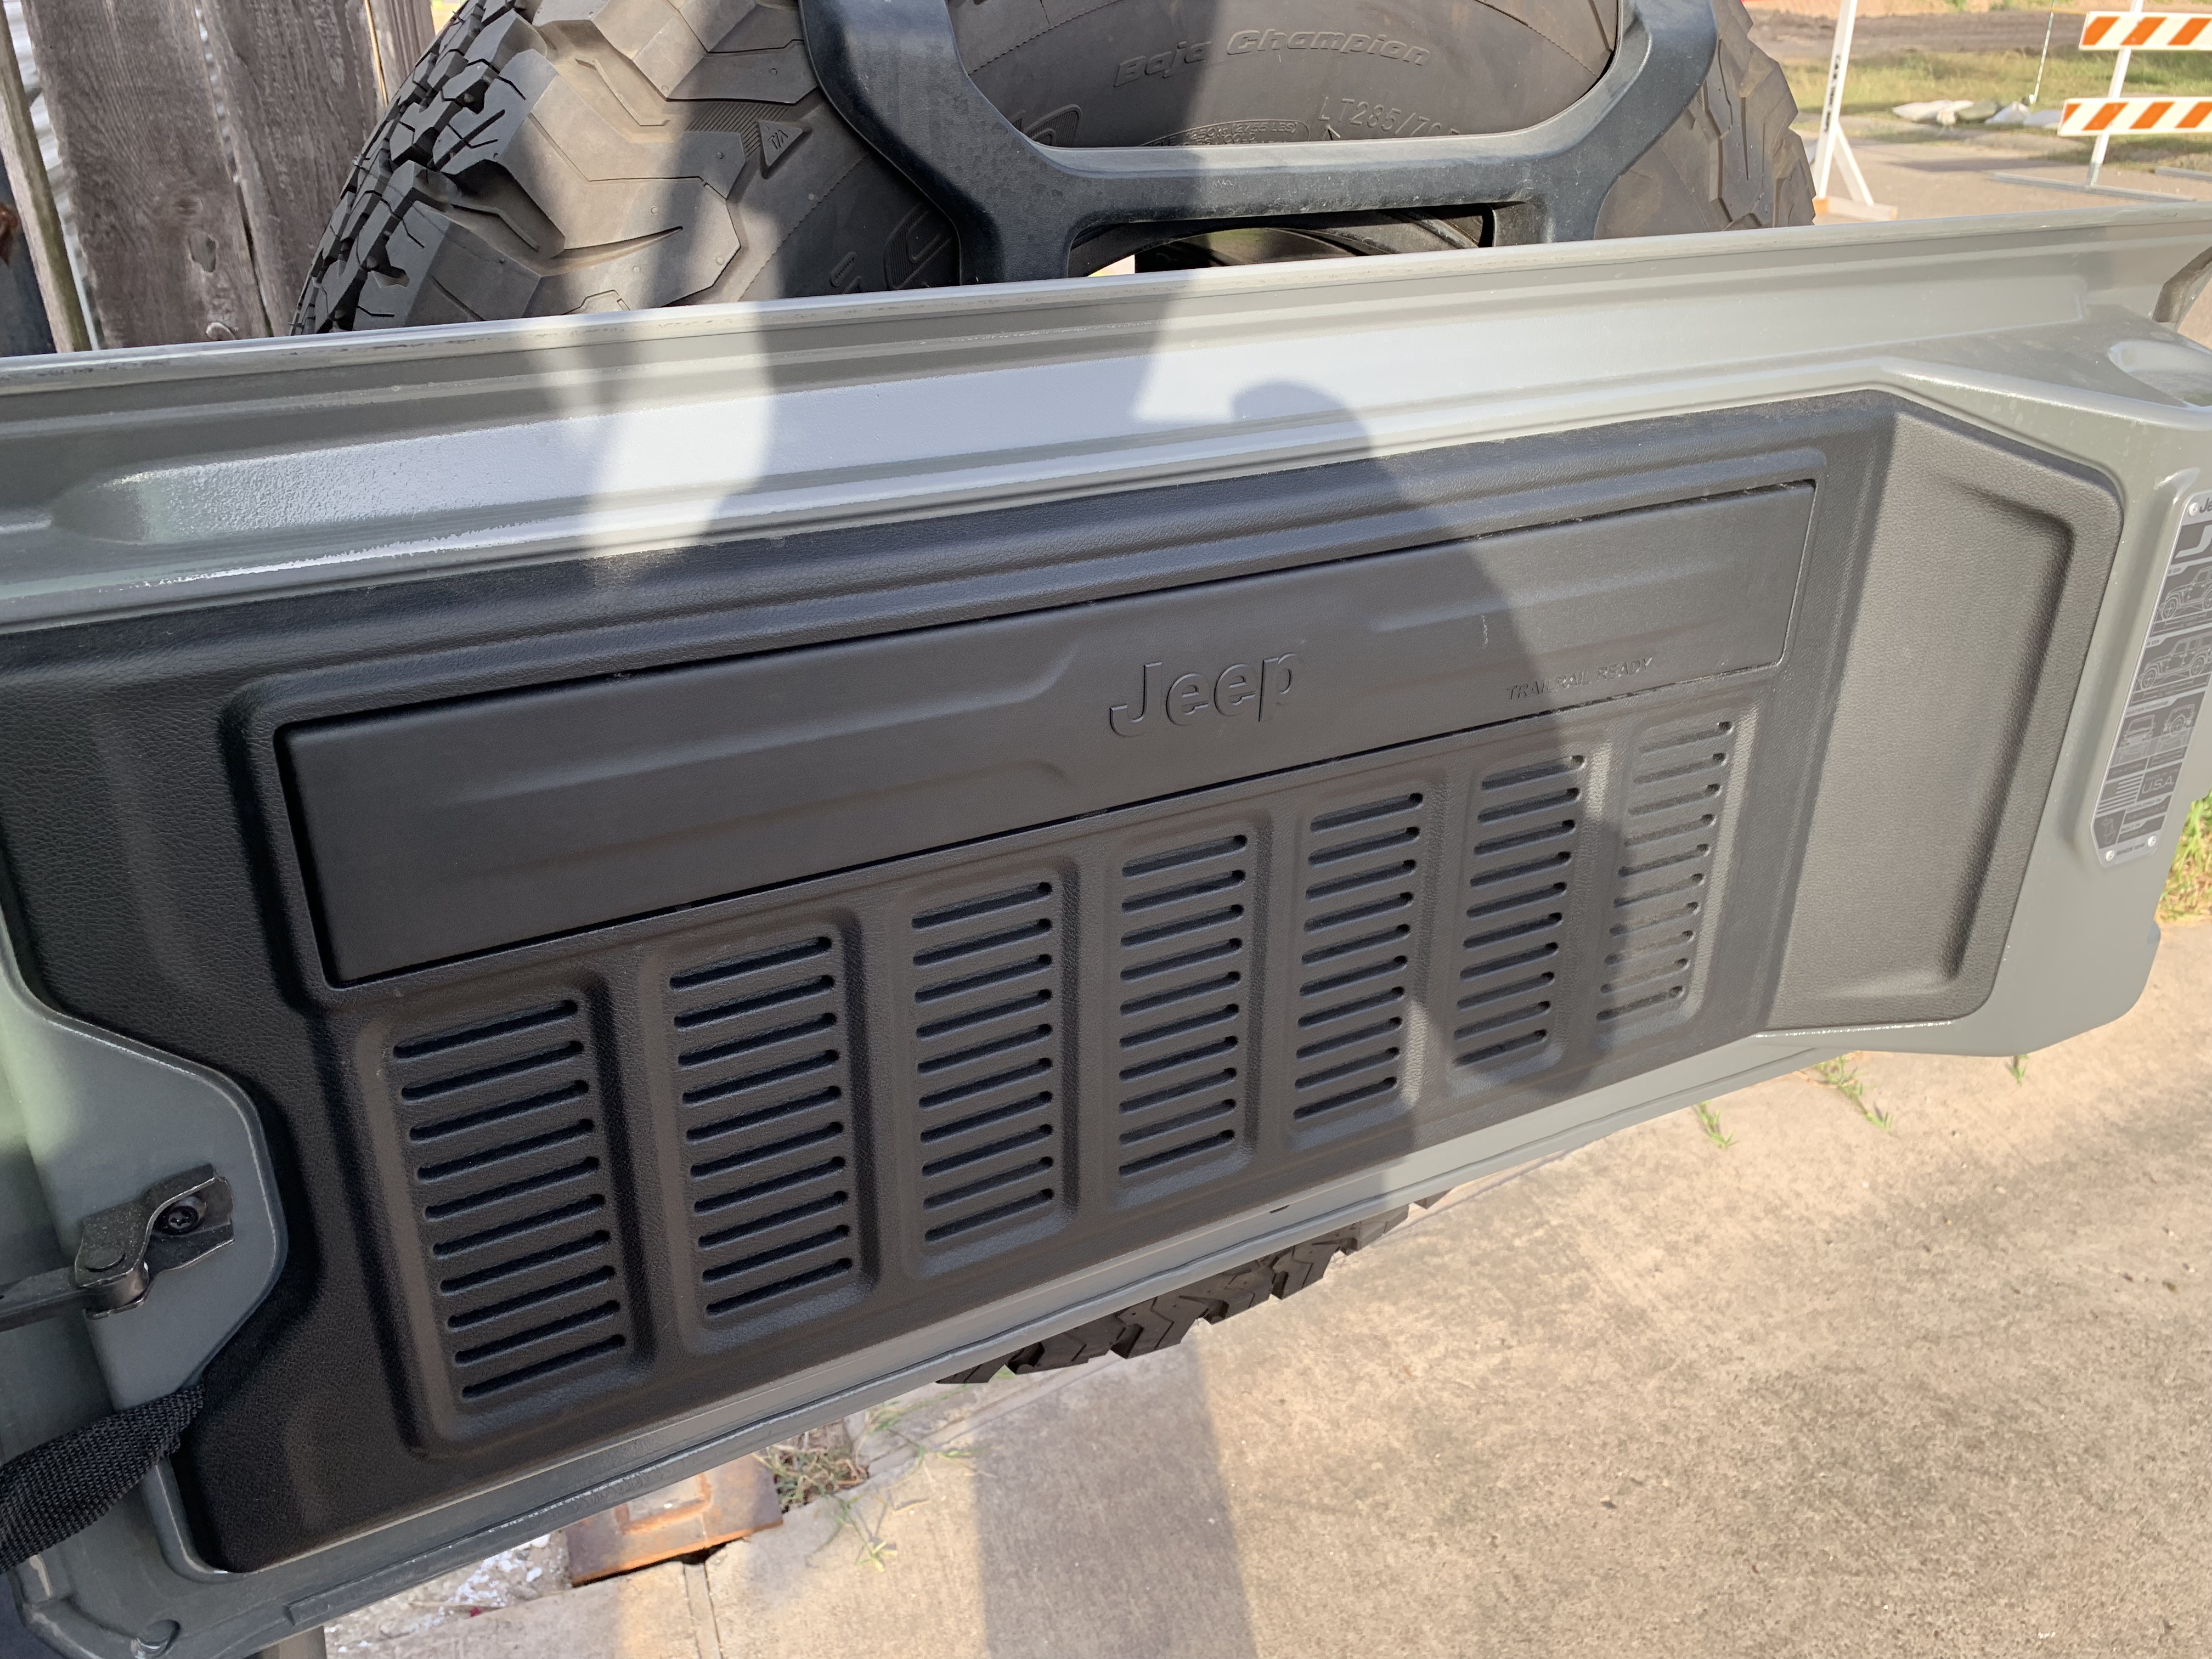
Step 1:
Remove the Plastic Cover from the Tailgate. I find it easiest to pull it out where the wiring harness goes through the plastic trim panel.
Step 2:
Insert the 9 Green Plastic Clips in the locations shown below. You can also reference the instructions for the locations as well. At first I thought I missed a spot but they give you one extra.

Step 3:
Prepare the back of the cutting board by putting the foam as close to the edge as possible.
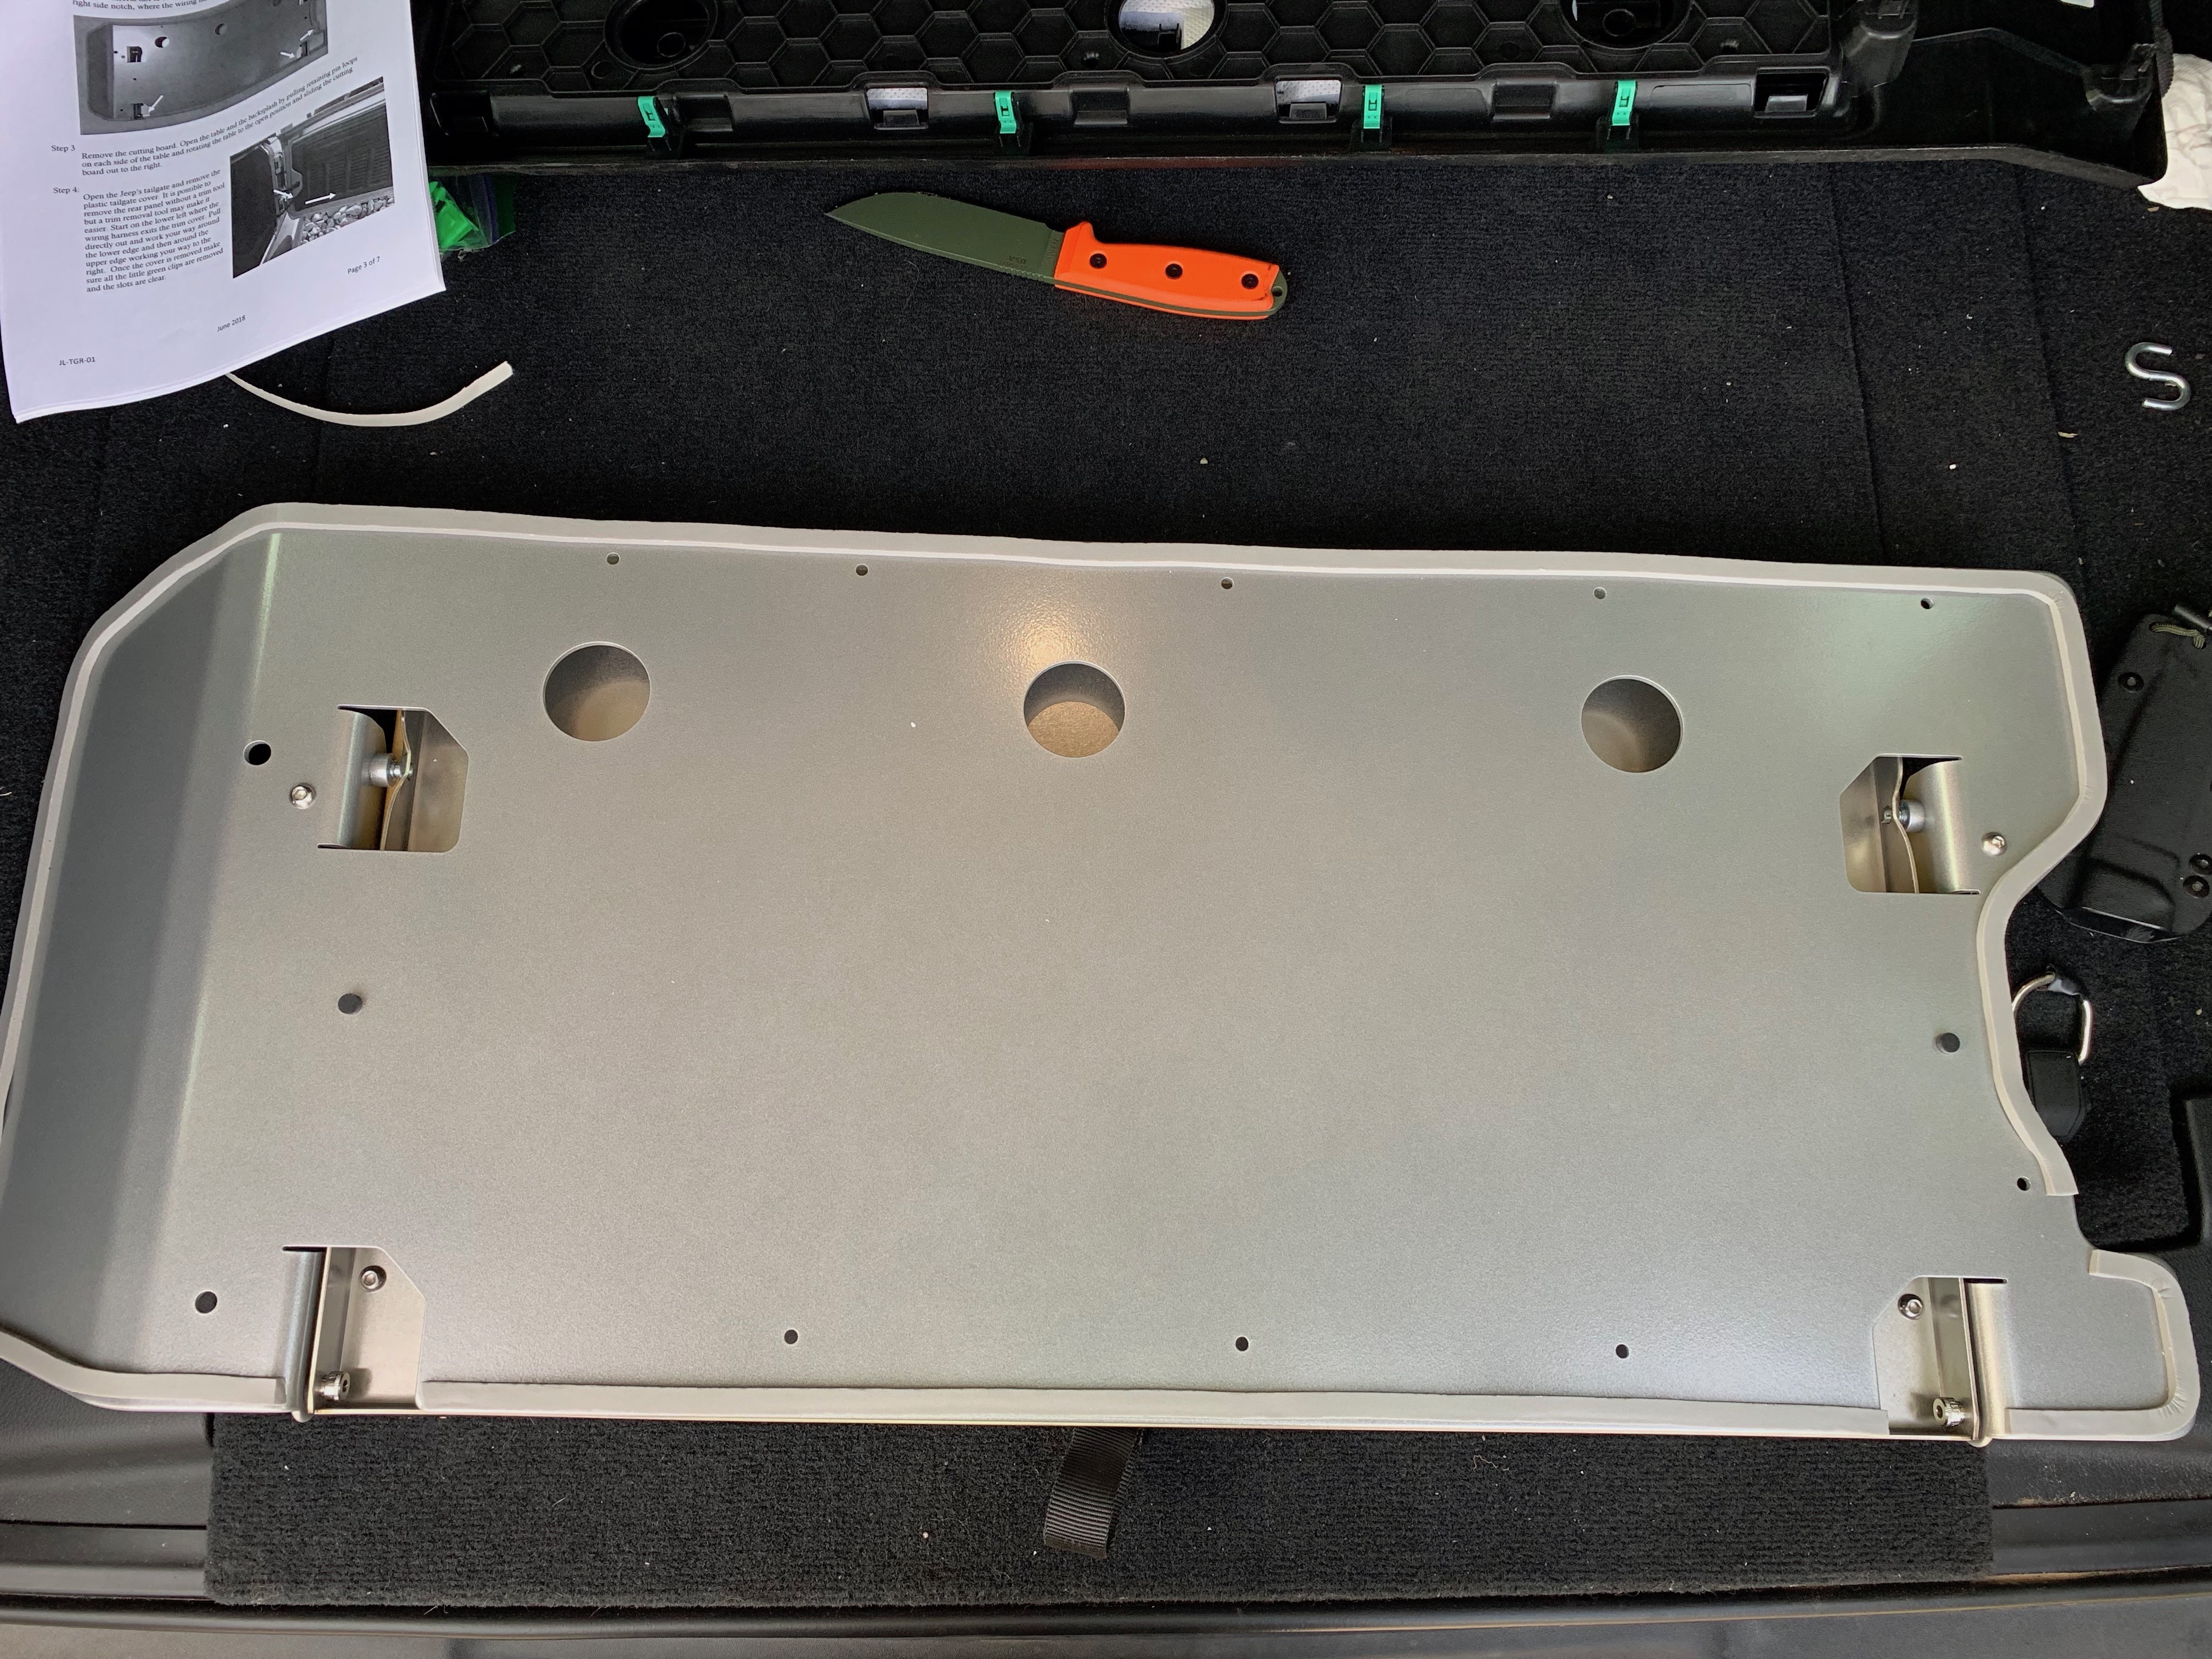
You need to remember to cut out a section with the wiring loom passes to the tailgate. See the image below.
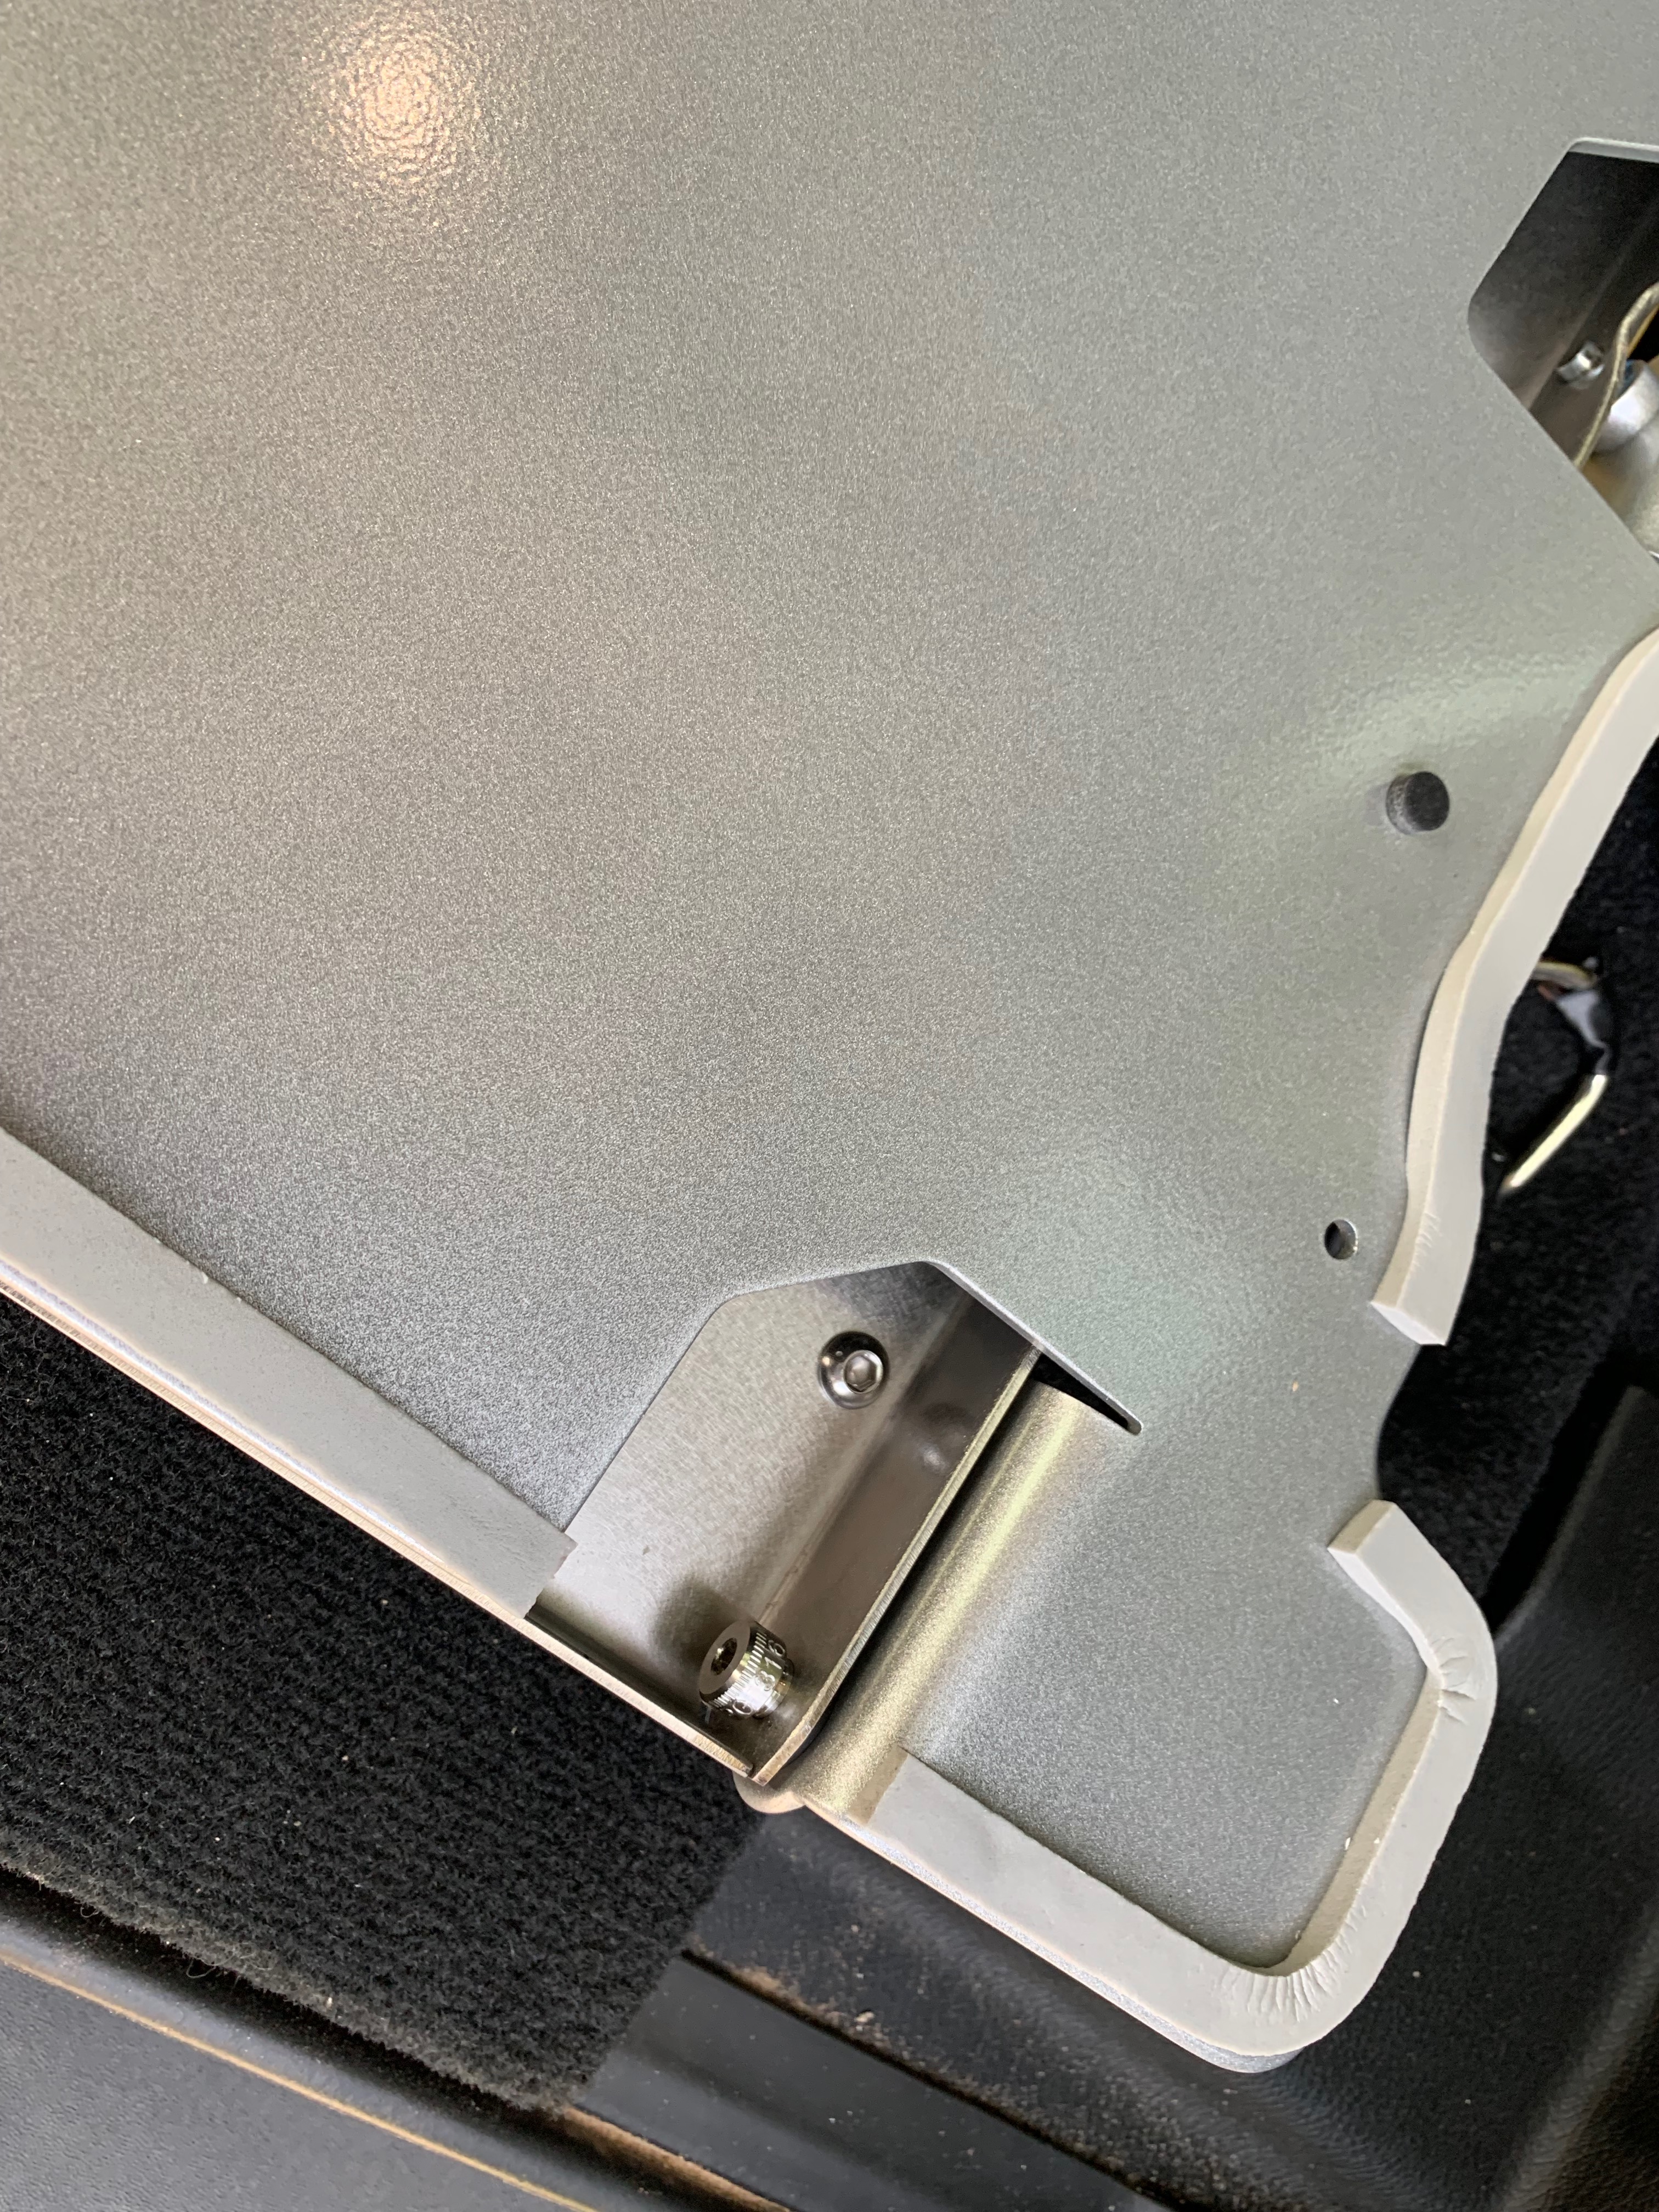
Step 4:
Open the table so you have access to the screw holes and remove the wood cutting board to make it lighter to hold up while you screw in the screws. On the Right side Latch is where you will bolt in the included bolt and washer. The instructions recommend tightening the screws hand tight. You don’t want to strip the plastic trim pieces.

INSTALLATION COMPLETE
There you have it. Its a very easy and straight forward install and literally takes about 15 minutes to do.

Amazon and the Amazon logo are trademarks of Amazon.com, Inc, or its affiliates.